Archive for ‘Fall’

November 16, 2011

Roasted Winter Squash Soup

I’m all for vegetables on their own, shining for themselves. I love vegetables in their raw form. Lately, I’ve been wondering if this is just laziness in me. I went to an incredible restaurant where they did magical things with wintery vegetables. Vegetables that I like okay but loved that night. Brussels sprouts, I’m sorry I never gave you a chance as a kid. We’ll make up for lost time.

This soup is amazing (no Brussels sprouts in this one, but squashes). I’m out of my lazy rut, because however delicious vegetables are in the raw, they don’t hold a flickering candle to this hero of foods, this bowl of beastliness, this delight of the senses.

Roasted Winter Squash Soup

1 medium acorn squash
2 1/2 T butter
3 garlic cloves, minced
1 large red onion, diced
15 oz vegetable broth
1 1/2 c butternut squash, roasted with olive oil
1 1/4 t thyme
1 1/2 t cumin
1/2 t ground white pepper

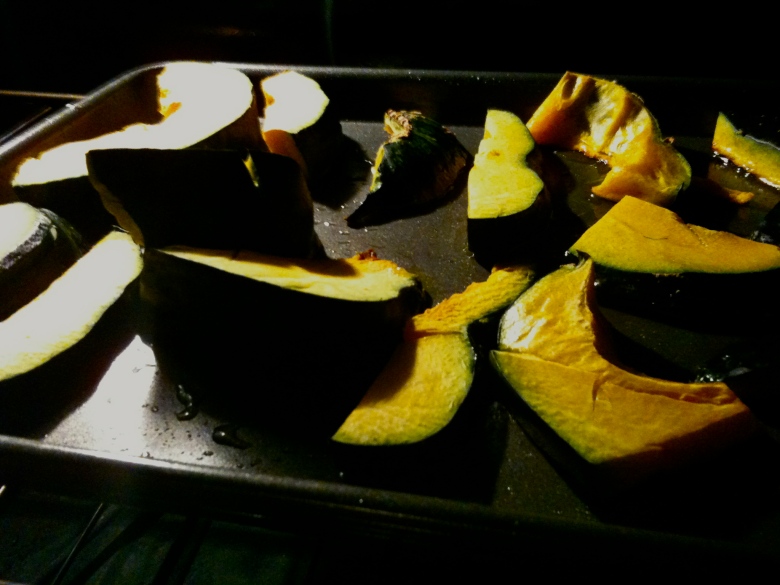
Slice acorn squash in half then slices 1/2 inch thick, or as close as you can get to that. In a preheated to 375 degrees F oven, roast the acorn squash for 20 minutes. I had leftover butternut squash, but I roasted that in a 400 degree F oven for about 15 minutes. You could roast these guys together probably. Whatever order you do it in, just drizzle with olive oil and make sure the pan gets a good little bit of olive oil, too.

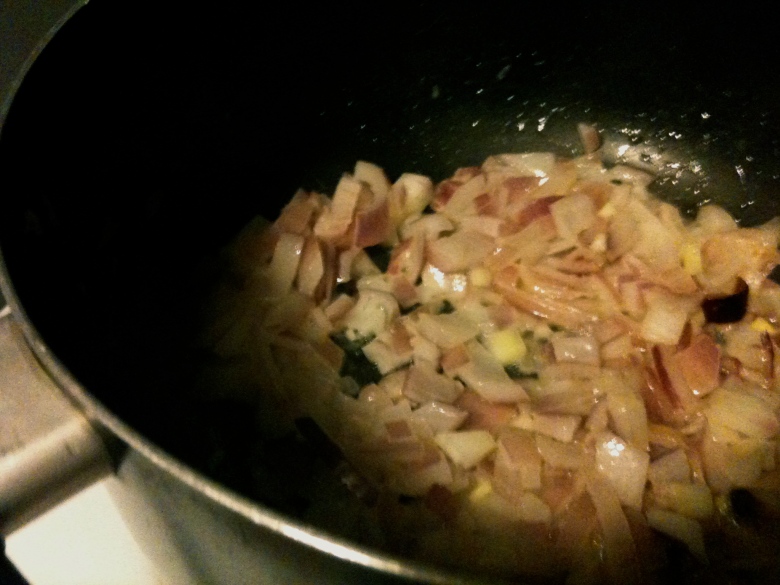
Once you’ve got your roasted and peeled squashes (Squash is about 40 times easier to peel post-roasting. I didn’t know. Should’ve. Didn’t. Do now.), you’re ready for the soup bit. Melt the butter in a large pot over medium heat. Saute garlic and onion until tender.

Add broth, squash, and herbs. Bring to boil. Lower heat and let simmer until squash is really tender. This’ll take about 25 minutes or so.

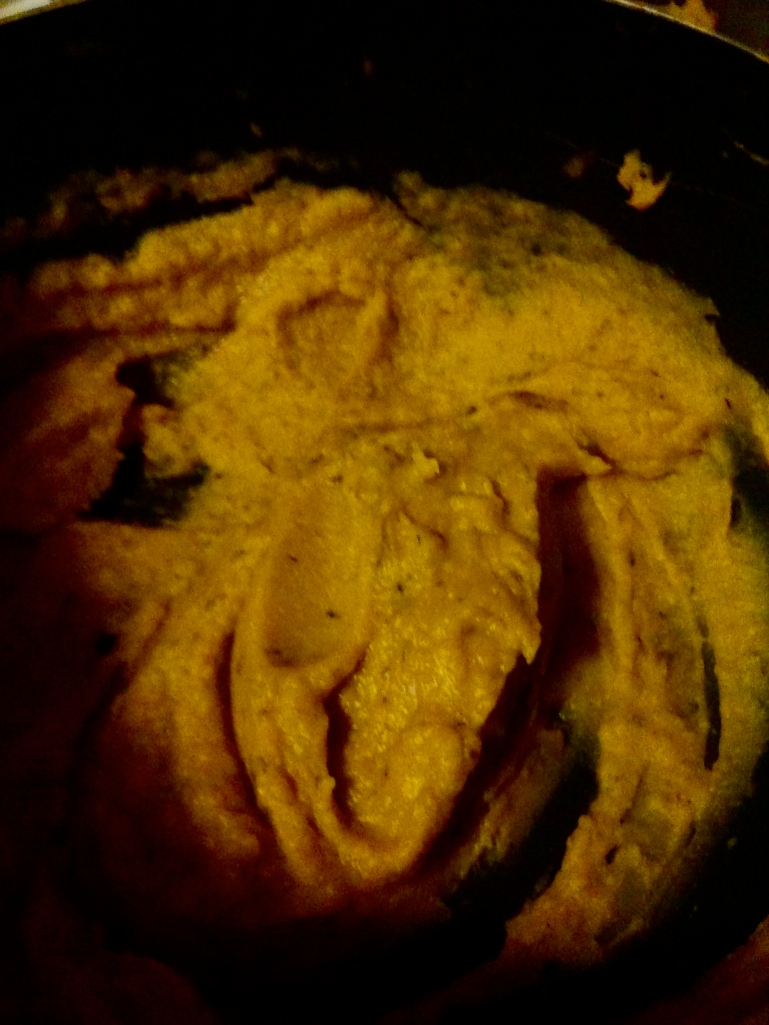
Puree soup in food processor or blender. Return soup to pot. Bring to simmer. Add a little more vegetable broth to make it soupier.

This soup will make you melt. This soup will make you fall in love. This soup will make you very sleepy. Creamy without cream. Decadent. Flavorful. Oh my god. I’m going to get some more right now.

November 14, 2011

Banana Bread, sans Egg

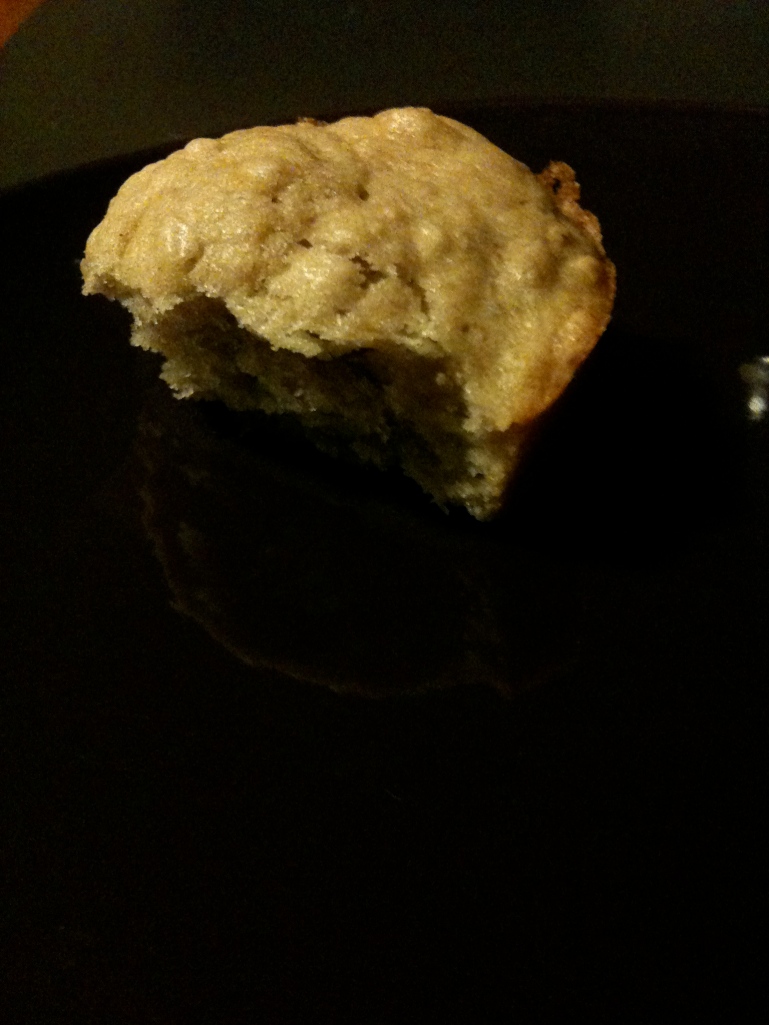
Banana bread is a tricky, slippery, mysterious enigma. I’ve basically kept with the same “recipe” for several years now, but because it isn’t perfect yet, I keep tweaking slightly to discover entirely new worlds when it comes to banana bread. It’s an exciting endeavor, unless I don’t use enough butter or forget an ingredient. This time, I didn’t forget anything (except the fact that I didn’t have any eggs in my house); I adventured into the world of banana bread with an open mouth and ready heart; and I was greatly rewarded for my experimentation. I give you They’ll Never Know You Were Out of Eggs but Wanted to Bake Anyway Banana Bread.

Going into this attempt, I thought my house contained eggs. Those elusive scrambleable necessities for breakfast and baking went for all they were worth, apparently. And more quickly than I anticipated. So, I did a bit of research. Dear internet, what is a good egg substitute other than Egg Substitute? You know, internet, something I can use from my cabinet or fridge, so I don’t actually have to leave my house or my pre-heating oven?

Banana Bread, sans eggs
Inspired by Mark Bittman

1 stick butter, softened
1 c A-P flour (I used white wheat.)
1 c cake flour
1 t salt
1 1/2 t baking powder
3/4 c light brown sugar
5 banananananananas, smushed (Did you know bananas act as a perfectly acceptable and delicious egg substitute? Isn’t that perfect for banana bread??? I added a little bit of yogurt just ’cause and was thankful for the baking powder in this recipe to help the leavening.)
1/8 c plain yogurt
2 t vanilla yogurt

Preheat oven to 350 degrees F. Ready a dozen muffin cups and a small loaf pan.

Whisk dry ingredients together. Cream brown sugar and butter together. Beat in bananas. Add yogurt. Mix until incorporated. Add vanilla extract.

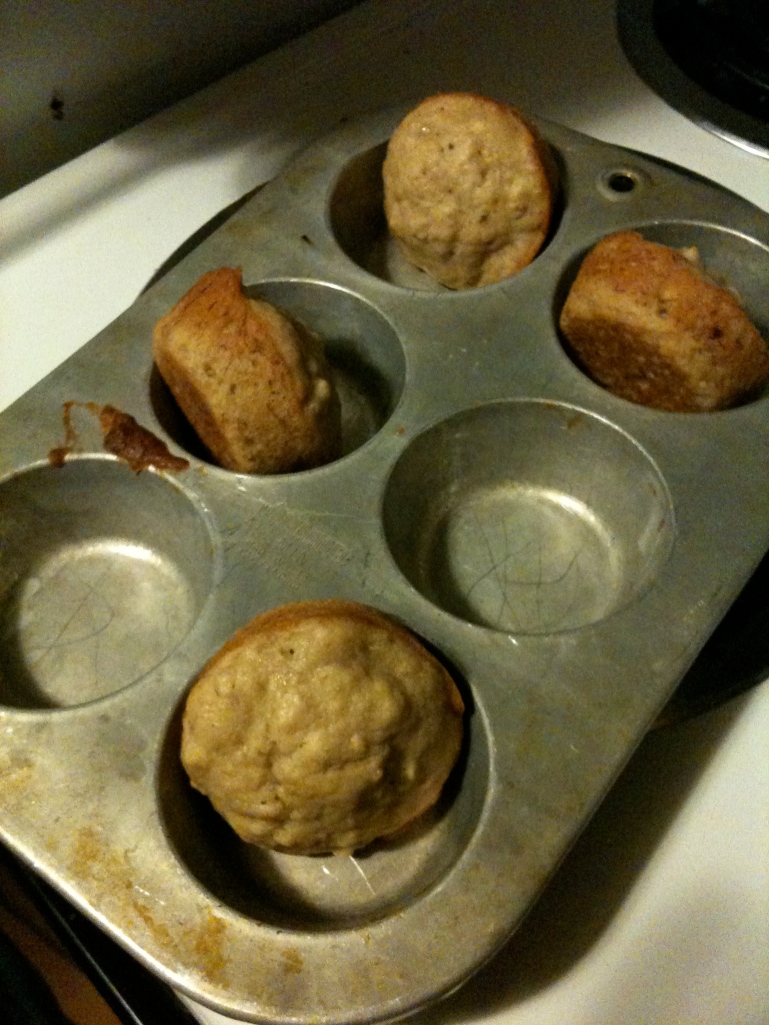
Pour batter into tins. I did it six at a time then the loaf. The muffins took about 12 minutes each. The loaf took a bit longer. Just bake until golden brown and they pass the toothpick test. Really, a good measure is to watch until the edges of the muffins begin pulling away from the tin. But not any longer than that. They’ll get dry.


Cool on rack or whatever (see above for my very and professional cooling method) before removing. Enjoy. Share. Love.

October 22, 2011

Freshly Squeezed Orange Juice

There’s a juicer in my house. Technically, I guess there are two. There’s a machine that you plug into an outlet then use a plastic plunger type tool to push the to-be-juiced object into the whirring blades. It hasn’t been used since my roommate, its owner, moved it. I don’t know when it was last used. I took it out to examine it as a candidate. I immediately put it back in the box and returned it to its storage location. It, obviously, has been used. And when last used wasn’t properly cleaned. I’m not sure why I’m divulging all this unnecessary, kind of gross information to you except to say, I am juicer!!

Why didn’t anyone tell me how AWESOME freshly squeezed juice is??? It is far superior than bottled up, purchased straight from the store juice. Oh, I’m so excited about this orange juice. So the process is simply. Look:

I have a bowl. I have a strainer. I have the best juice now.

And it was hand squeezed. Fancy, right?

What’s even more exciting that glorious glasses is thinking of all the recipes I might use the juice and, of course, these guys for:

If anyone needs zest, at all, please let me know! I have about a pound of oranges here for the zesting.

Oh, boy. Stay tuned. I’ll keep you posted. Promise.

September 25, 2011

Pie Top Cookies

I made cookies. They looked like pie tops. What to call them? Well, the most obvious answer, of course. I like learning new techniques. I adore cute things. I can’t help it usually. I just get really excited when something is adorable, feel exuberant around the sorts of creatures or crafty or cookery things that make people talk in a slightly higher pitched voice or at a faster pace than typical.

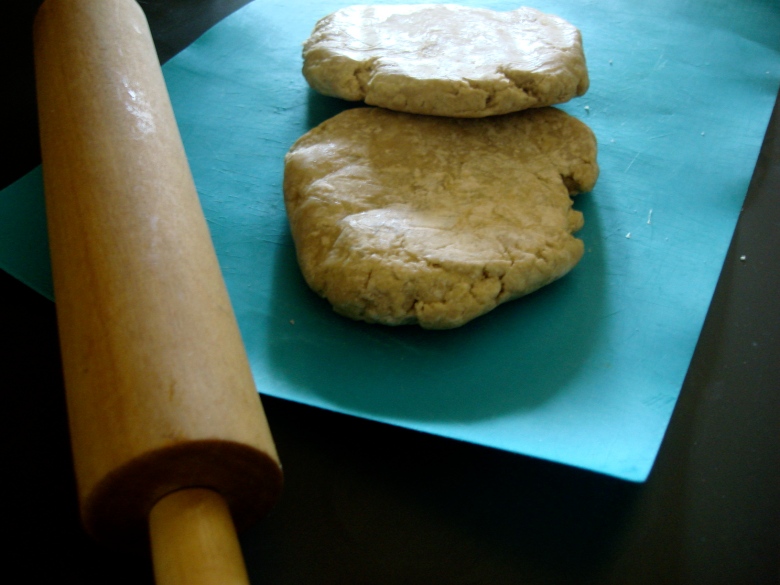
It just so happened that I had two pie’s worth of dough in my freezer. Not in as much luck?? You can whip up a fresh batch. Here‘s a perfectly useful link in a time like this.

So that’s the actual recipe. This is a tutorial, a run-down if you will, of how to make the cookies themselves so as not to needlessly repeat myself on how to make awesome pie crust. The important step for this bit (if you’re making from frozen and not from fresh) is to defrost overnight in the refrigerator. I apologize, as this recipe does call for forethought. Unless you make from scratch! There are always loopholes to stumble through and around!

First step is to make sure your surfaces are well-floured. You can wear an apron if you don’t like flour handprints. I always seem to leave traces wherever I work.

Flatten your pie crusts out, rolling evenly from the middle out in all directions.

Cut strips of the equal width. Leave intact. Begin lattice work work by folding every other strip of one pie crust down to the middle. See picture.

See? Easy. Now take the middle strip from the other pie crust and lay it across your opening. Fold up the ones folded down. Fold down the ones that were previously up and you’re ready to lay down your next longest strop of pie crust from that other one.

Once you have gone all the way to the top. Start from folding up from the bottom again starting from the middle then working down this time until you finish your latticing work.

Now you may get a biscuit or cookie cutter or whatever you might have on hand. I used a tiny mug.

I liked the shape, and with the help of a butter knife, it was perfect. Make sure you pull the dough away from the cookies and don’t try to move the cookies just yet.

Preheat your oven to 350 degrees F.

I found that I easily got four cookies at a time. I took the whole sheet of wax paper, carried it like a tray to the fridge and let the cookies hang out in there while I balled up the left over dough, stuck it in the freezer for a couple of minutes (in a plastic bag or plastic wrap) to rechill, so that I could make a new lattice and make four more cookies, pull the dough away, take the four new cookies on their wax paper tray to the fridge to chill, take the left over dough to the freezer for a couple of minutes, then lattice up my third and last batch of pie crust to get my final four cookies, put those in the fridge on their wax paper tray while I mixed up my sugary topping and egg wash.

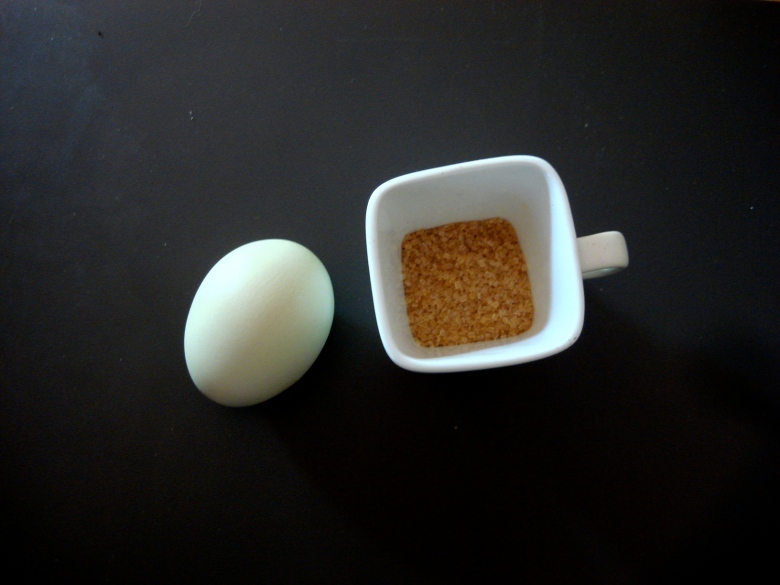
I simply mixed a tablespoon of raw sugar with a teaspoon of cinnamon in one bowl (or cute, tiny mug) and one egg with one tablespoon of water in another bowl.

First brush the tops of each cookie with the egg wash then top with a pinch or two of cinnamony sugary goodness. Bake six at a time for 15 minutes then turn on the broiler to high for a nice, golden brown top. While the first six bake, keep the others in the fridge.

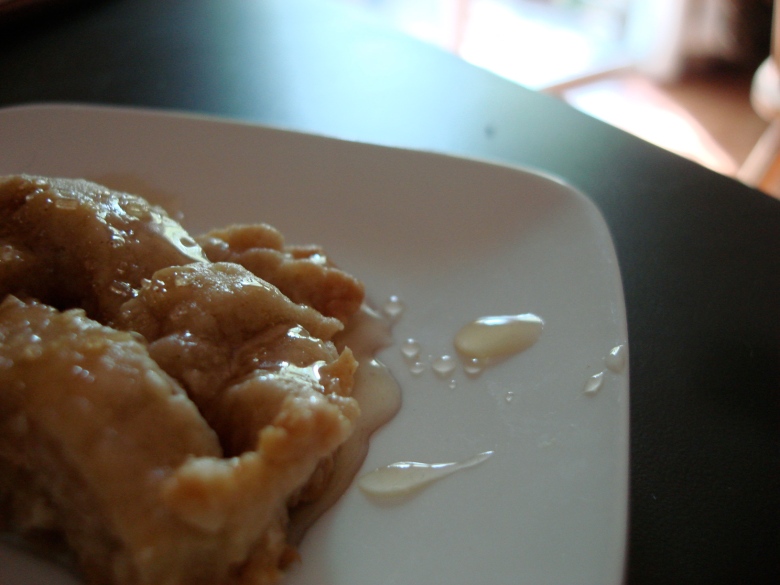
Top the cooled cookies with local honey for added sweetness. Although alone gives them a nice savory/sweet flavor that might be up or alley. I highly recommend playing with toppings or fillings. But alone is absolutely devine. My favorite topping was the honey though.

This recipe was inspired largely by not martha. Check her out. I’m just learning about her.

November 28, 2010

Ginger Snap Cupcakes

Inspiration comes in all forms– music, a passing phrase, a “mis”interpreted glance from the corner of your eye, or a tub of delicious, wonderful, incredible cookies.

Ginger snaps. With three forms of ginger– candied, ground, and fresh. And Thanksgiving just passed. And it was an evening for cupcakes.

I made up a recipe from nothing. Oh, how I love doing this. I consulted quite a few sources. However, this recipe– all me and our house’s need for cupcake. And good ol’ ginger snap.

Ginger Snap Cupcakes

For the batter::
2 c cake flour
2 t baking powder
3/4 t salt
1/2 t cinnamon
1/2 t ground ginger
1/4 t groung cloves

3/4 c plus a little more milk

1/2 c brown sugar
1/2 c granulated sugar
1/2 c (1 stick) unsalted butter

3 large eggs, room temperature
2 t vanilla extract

For the frosting::
**Note: There was twice as much frosting as I needed. If you don’t want extra frosting, halve this recipe.

1/4 c brown sugar
1 c powdered sugar
2 (8-oz) packages cream cheese
1/4 c butter
2 t cinnamon
1 t vanilla extract

Preheat oven to 350 degrees F.

The dry team:: Sift it all together– cake flour, baking powder, salt, ground ginger, ground cinnamon, and ground cloves.

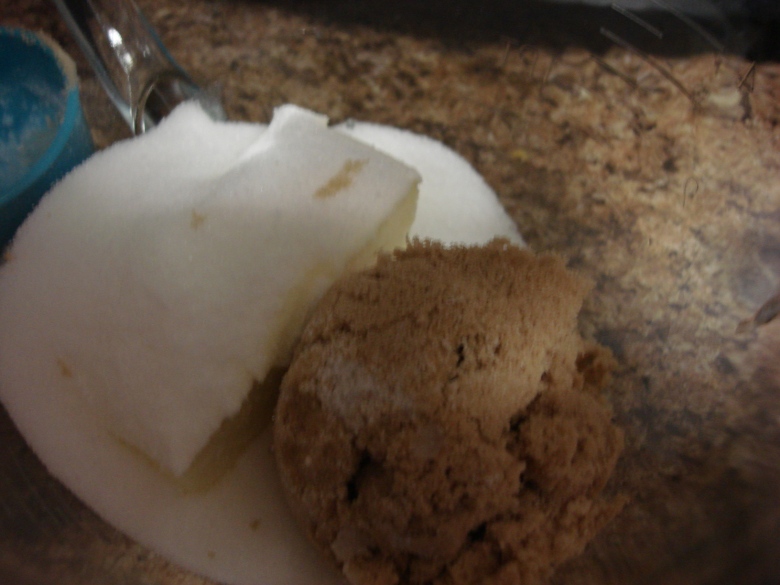
Next, cream the brown sugar, granulated sugar, and butter together.

Cream, cream, cream.

It’ll start to look crumbly. Don’t stop yet.

Then, it’ll look a little smoother. Keep on mixing.

Ahh. Smooth sailing. Now, you’ll mix in one egg at a time. Crack the egg into the bowl, then mix until completely incorporated. Repeat. Repeat.

Now, I have a confession to make. The second egg was twins!!!

I wasn’t sure what to do at first. So, I thought of all the friends I have who are twins. What would they do in a situation like this? As a twin, it is important to be treated as an individual. Instead of counting this egg as one egg, I thought I need to count it as two. What would you have done in this situation?? Did I do the right thing?

As soon as I got past the soul delving, I went on with cooking. We can go on, too.

Add a portion of the dry into the wet ingredients. Mix until completely incorporated.

Add a splash of milk. Mix until completely incorporated.

Repeat.

Keep repeating until dry mix and milk are gone:: dry, mix, milk, mix, dry, mix, milk, mix, dry, mix, milk, mix.

Now dollop batter into prepared muffin tins. Fill 3/4 to the top.

Cook for 20 minutes. But start checking on them at 15 minutes.

While they are baking, make the caramel!!!

For the Caramel Sauce::

4 T butter
1/2 c brown sugar

In a sauce pan, melt butter with heat on medium. Add brown sugar, stir until everything is all mixed up. Allow to cook for two minutes, continuing to stir the whole time. Then, set aside.

Then continue on to the frosting.

Put sugars and cinnamon into mixing bowl.

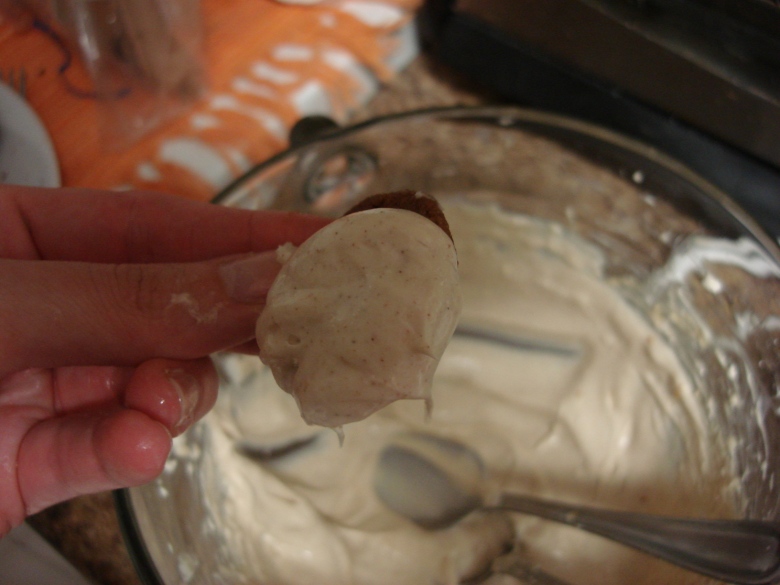
Add cream cheeses and butter. And cream all together. Oh, yeah. Add vanilla extract, too.

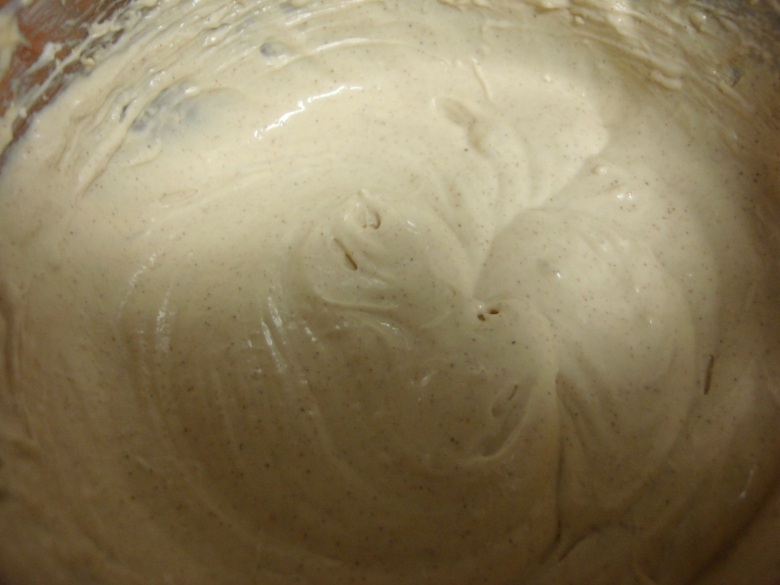
Look! It’s all creamed together. Oh, man. Look at that cinnamon. Place in the refrigerator, covered until you’re ready to use it.

Core out the cupcakes once they get a chance to cool a bit. I just used a knife. I don’t have one of those neato cupcake corers, but I didn’t need one. I just used a knife to core the cupcakes and then added the caramel to the center.

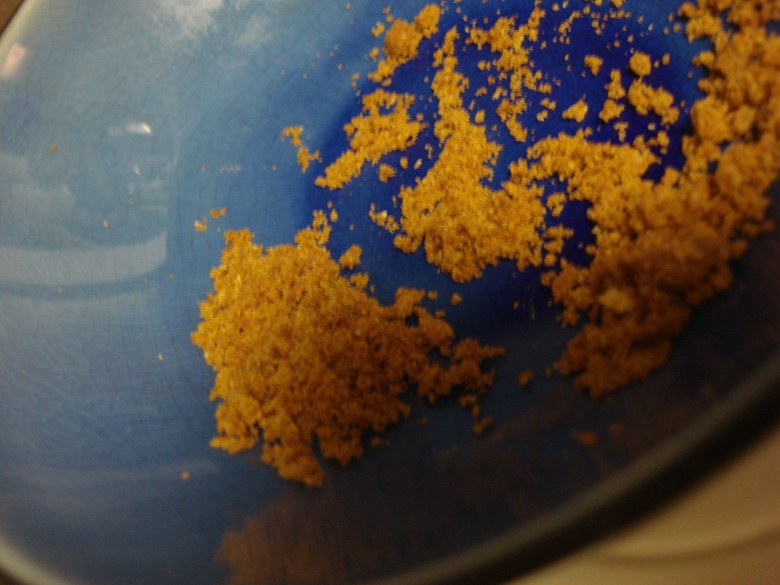
Smush up some ginger snap cookies.

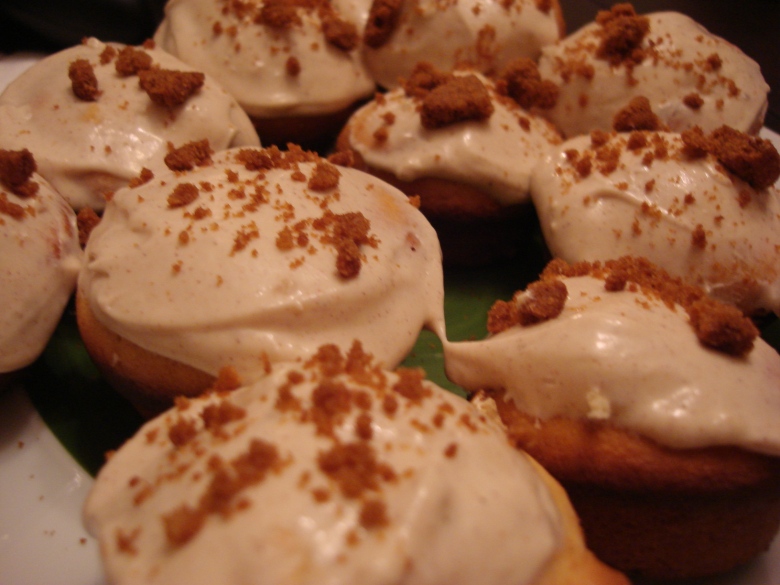
Top with frosting and smushed ginger snaps.

Enjoy!

Make sure you put the frosting away really quickly. Before you discover how delicious the frosting is with ginger snaps. Store it in the refrigerator. And have someone else put it in there so he or she knows where it is but you don’t… just so you don’t eat all of it by yourself.


November 24, 2010

Picture of the Week

Happy Thanksgiving.

November 19, 2010

Sesame Tuna

The Best Food Cooking Partner questions any meats with red. Wary of disease and unpleasantness, he stays away from anything less than Well.

Things are changing around here. Yep. Things. Not everything. We still have the cat; the kitchen is still smaller than a bathroom; and the hardwood floors are still great for sliding around. So really, B.F.C.P. is starting widen his meatanese… meateatease.

I give you– Tuna Steaks! Medium Rare.

This is an easy recipe that doesn’t have a lot of ingredients and tastes incredible. Who could ask for anything more?

Sesame Tuna

1 lb Ahi Tuna steaks
Extra Virgin Olive Oil
Soy Sauce
Sesame Seeds

(Yes. That’s it!! The ingredients list ends there.)

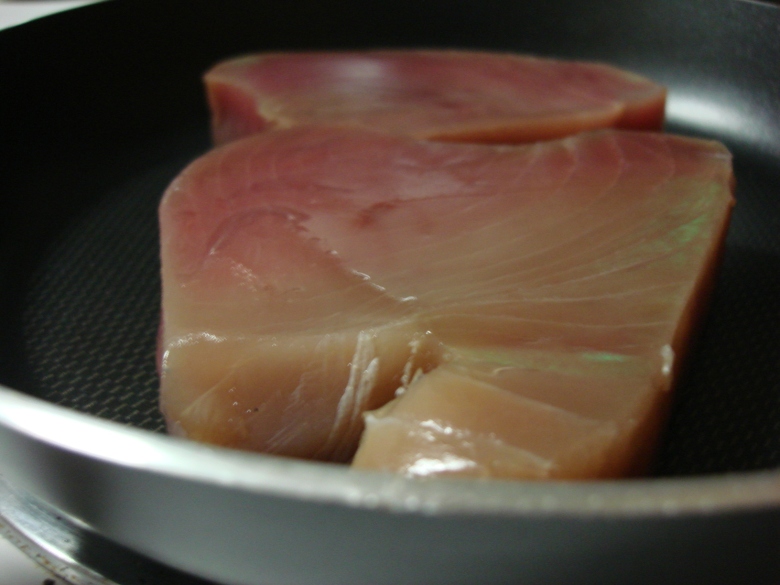
Place steaks onto cool saute pan.

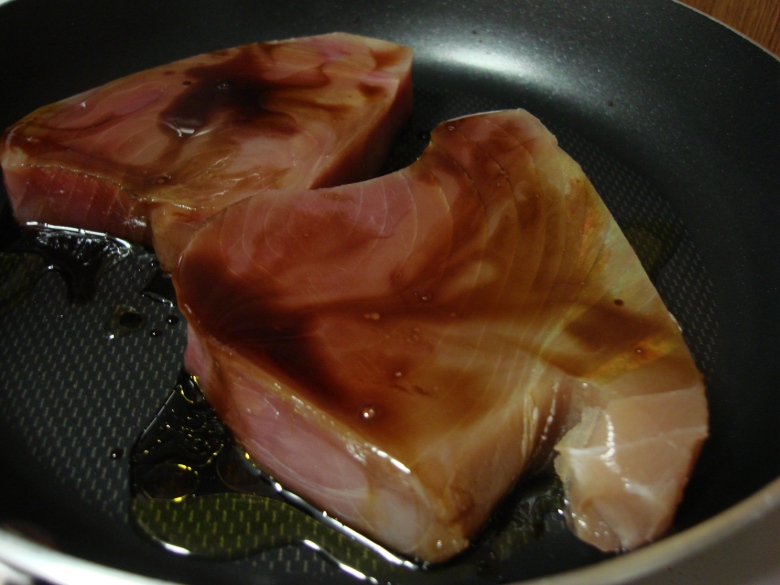
Sprinkle both sides with olive oil.

Then with soy sauce.

Once it starts sizzling, let the steaks cook for three minutes (for medium rare, two minutes for rare). And then turn over to cook for another three minutes (or two if you’re cooking rare).

Remove from heat and top with sesames.

I served the tuna with Basmati Rice with Artichoke Hearts.

November 14, 2010

Cranberry Blueberry Coffee Cake

I almost didn’t create this post. Almost. I don’t know how I feel about nearly repeats. What do you think? This is a variation of a certain Blueberry Sour Cream Coffee Cake which you might remember. Click here if memory needs jogging (I know my memory and I both need a little bit of that.)

Okay, okay. So that was that. Now, I have autumnized the recipe a bit and made it Thanksgiving-appropriate. Just around the corner; isn’t that crazy?

Cranberries! I added cranberries. And I could eat the whole coffee cake all by myself. But after that I’d probably jog. Probably. Maybe. Or just make this cake again.

Blueberry Cranberry Coffee Cake
Inspired by Atlanta Journal Constitution, June 2010

1/2 c packed brown sugar
1/2 c chopped pecans
1 t ground cinnamon
1 c fresh or frozen blueberries
1 c fresh or frozen cranberries
1 1/2 c plus 2 T A-P flour, divided
1 t baking powder
1/4 t salt
1 1/2 c granulated sugar, and then a bit more for dusting the pan
1 c (2 sticks) unsalted butter, room temperature
Zest of 1 lemon
2 eggs
8 oz sour cream
2 t vanilla extract
Confectioners’ sugar for dusting

Preheat oven to 350 degrees F. In a small bowl, combine sugar, pecans, and cinnamon, then set aside.

In a second small bowl, combine blueberries and cranberries with 2 T flour.

In the third small bowl, stir the rest of the flour, salt, and baking powder; set aside. Grease and dust (with granulated sugar) a 9-inch fluted or tube pan.

In a mixing bowl, cream sugar and butter. Add lemon zest, then add the eggs one at a time. Beat in the sour cream and vanilla extract. Mix well. Add half the flour mixture, mix, repeat. Beat until combined. Beat for an additional 30 seconds. Then, fold in the blueberries and cranberries. Gently.

Spread half the batter in the pan. Sprinkle half the brown sugar mixture. Swirl the brown sugar mix with a knife or small spatula. Pour second half then top with the remaining brown sugar mixture.

Cook for about an hour or until a toothpick inserted into the cake comes out clean. Allow it to cool in the pan for 20 to 30 minutes. Then run a knife around the edge, carefully separating any renegade blueberries that might have stuck to the sides of the pan. Invert the cake onto the serving platter. Just before serving, sprinkle with powdered sugar. The powdered sugar will cover up any rips or tears and help you embrace mistakes as delicious.

Slice it up to share.

Try not to eat it in one sitting.

November 9, 2010

Chicken Brunswick Stew

It’s that time. Of life or of year. Both, really. When we need comfort food– its warmth, “everything will be okay”-ness, and deliciousness. The slow cooker comes out and awaits direction.

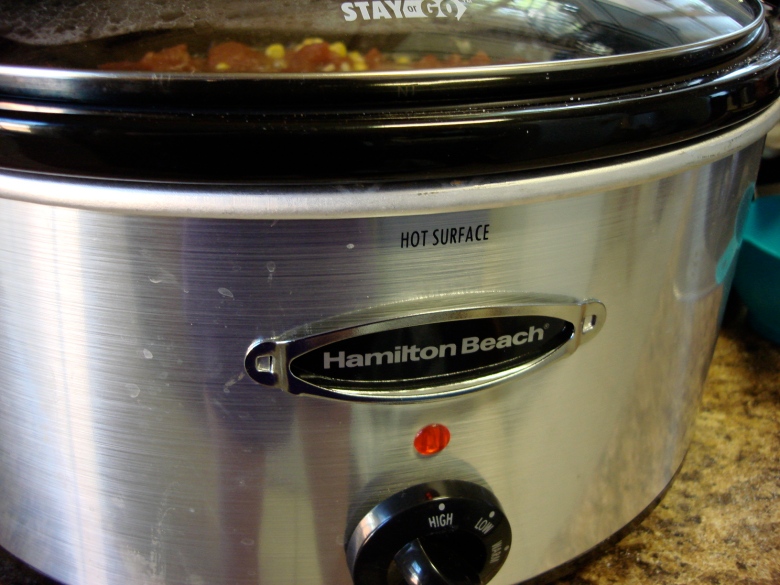
Here, slow cooker! Go this direction!!!

Chicken Brunswick Stew
Inspired by Cooking Light’s Slow Cooker

2 large onions, chopped
3 chicken breasts
1 (14 3/4 oz) can cream-style corn (no salt added)
1 (12 oz) package frozen corn
2 (14 1/2 oz) cans diced tomatoes (no salt added), undrained
1 1/2 c organic turkey broth (chicken or vegetable broth would work fine, too)
1 can tomato paste*
1/4 minus 2 T granulated sugar*, **
2 T molasses*, **
2 T vinegar*
dash of cinnamon*
dash of cloves*
1/4 c butter, cut into small pieces
2 T Worcestershire sauce
2 T cider vinegar
2 t ground mustard
1/2 t freshly ground black pepper
1/2 t hot pepper sauce
Freshly ground black pepper

*Or 1 (12 oz) bottle chili sauce.
**Or 1/4 c brown sugar.

Place chopped onion into slow cooker.

Top with chicken. Add corn,tomatoes, broth, chili sauce (or the ingredients for your own), butter, cider vinegar, ground mustard, and black pepper. Stir well. Cover and cook on high for 1 hour.

Reduce heat to low, and cook 6 hours until chicken is tender.

Go stare out a window. It’s a nice thing to do, and it aids in time’s passing.

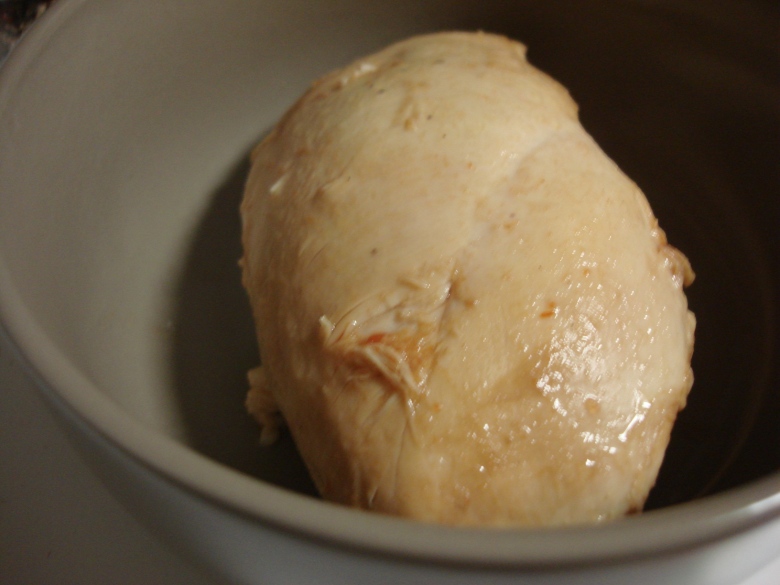
Once it has cooked for 6 hours, fish out the chicken (Ironic, huh?) one by one. And go to town, shredding the chicken with two forks. Like so. Before::

Post-shred::

Add the chicken back to the stew, and stir.

Then, serve one bowl at a time adding hot pepper sauce (the kind with whole yellow peppers in vinegar) and freshly ground black pepper to the dish.

Definitely serve it up in a bowl. It’s up to you whether you want to use a spoon or a fork.

Might I recommend a spork??

November 6, 2010

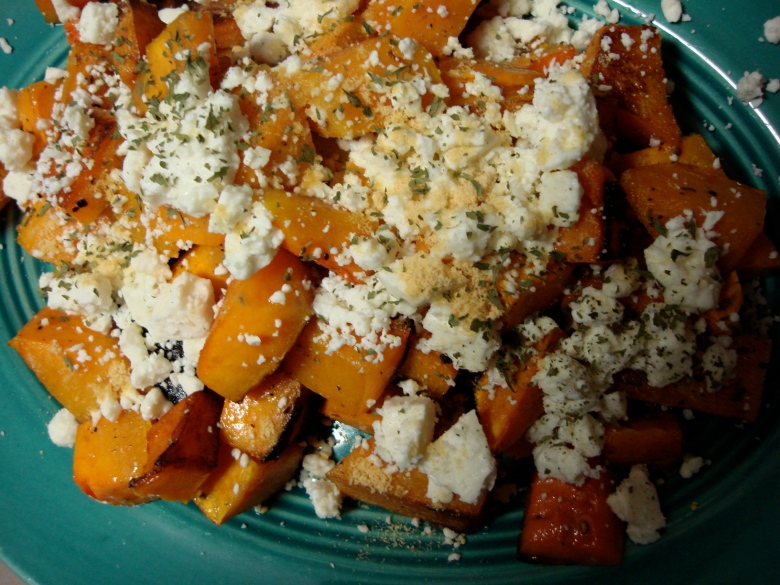
Roasted Butternut Squash with Feta

I meant to make muffins. I’d never tried savory muffins, so I thought, “Oh, boy, adventure.” Also, I’m not sure that I’ve ever had butternut squash, and I most certainly have never personally cooked with it. Sadly (deliciously), these butternut squashes did not make it to muffin form.

You see, the first step of this muffin-making process was to roast the chopped butternut squash. (For those astute readers, yes, I had to chop the butternut squash then season them first. Before roasting them. But first step in the general sense…. Does that count?)

Okay. So several steps into process, the original recipe requires you to roast butternut squash. When I took them out of the oven, they sizzled and smelled. Oh, how they smelled! So wonderful. So butternut squashy. I cut out the muffin part, served it as a side dish, and I am VERY happy to bring you the results.

Roasted Butternut Squash with Feta
Inspired by 101 Cookbooks

2 medium sized butternut squash, chopped into 1/2 inch cubes
Pepper and salt, to taste
Extra Virgin Olive Oil
1/2 c feta
2 t ground mustard
1 1/2 t parsley

Preheat oven to 405 degrees F. Chop butternut squash into cubes, place onto cookie sheet. Drizzle extra virgin olive oil over squash cubes. Sprinkle with salt and pepper to taste.

After 15- 20 minutes of roasting, remove from oven and place onto serving dish. Think to yourself, “Hm, I probably should’ve cut those smaller.”

Top with feta, parsley, and ground mustard.

Enjoy!!! Then, think to yourself, “Hm… I should’ve saved some for others to try instead of eating it all myself.”

Update:: I’ve got it. The perfect solution. You can just tell your loved ones that you wanted to practice this recipe before you forced them to try it. Then, you make a fresh batch just for them and try not to eat all of that. Eh?!! Eh?