Archive for ‘Sweet’

November 14, 2011

Banana Bread, sans Egg

Banana bread is a tricky, slippery, mysterious enigma. I’ve basically kept with the same “recipe” for several years now, but because it isn’t perfect yet, I keep tweaking slightly to discover entirely new worlds when it comes to banana bread. It’s an exciting endeavor, unless I don’t use enough butter or forget an ingredient. This time, I didn’t forget anything (except the fact that I didn’t have any eggs in my house); I adventured into the world of banana bread with an open mouth and ready heart; and I was greatly rewarded for my experimentation. I give you They’ll Never Know You Were Out of Eggs but Wanted to Bake Anyway Banana Bread.

Going into this attempt, I thought my house contained eggs. Those elusive scrambleable necessities for breakfast and baking went for all they were worth, apparently. And more quickly than I anticipated. So, I did a bit of research. Dear internet, what is a good egg substitute other than Egg Substitute? You know, internet, something I can use from my cabinet or fridge, so I don’t actually have to leave my house or my pre-heating oven?

Banana Bread, sans eggs
Inspired by Mark Bittman

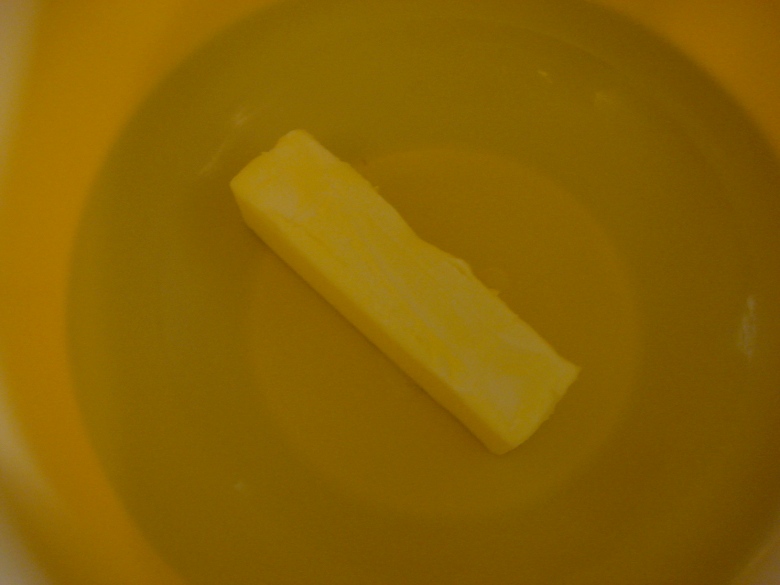
1 stick butter, softened
1 c A-P flour (I used white wheat.)
1 c cake flour
1 t salt
1 1/2 t baking powder
3/4 c light brown sugar
5 banananananananas, smushed (Did you know bananas act as a perfectly acceptable and delicious egg substitute? Isn’t that perfect for banana bread??? I added a little bit of yogurt just ’cause and was thankful for the baking powder in this recipe to help the leavening.)
1/8 c plain yogurt
2 t vanilla yogurt

Preheat oven to 350 degrees F. Ready a dozen muffin cups and a small loaf pan.

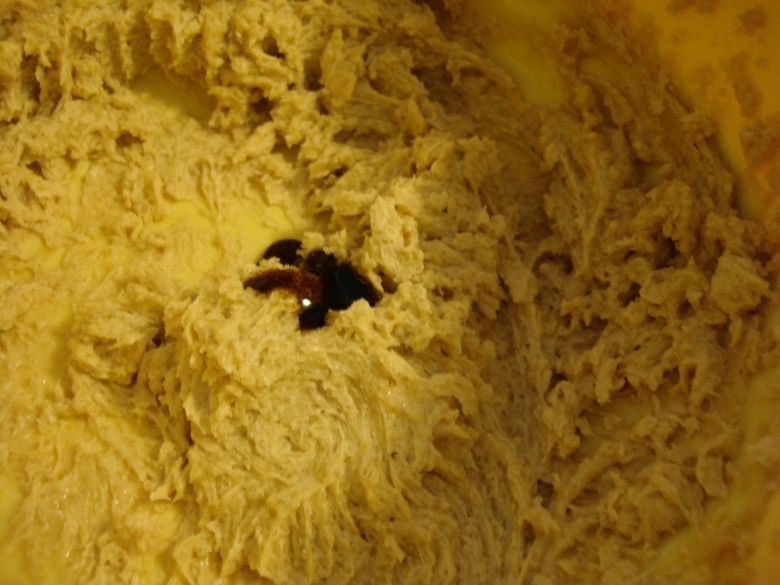
Whisk dry ingredients together. Cream brown sugar and butter together. Beat in bananas. Add yogurt. Mix until incorporated. Add vanilla extract.

Pour batter into tins. I did it six at a time then the loaf. The muffins took about 12 minutes each. The loaf took a bit longer. Just bake until golden brown and they pass the toothpick test. Really, a good measure is to watch until the edges of the muffins begin pulling away from the tin. But not any longer than that. They’ll get dry.
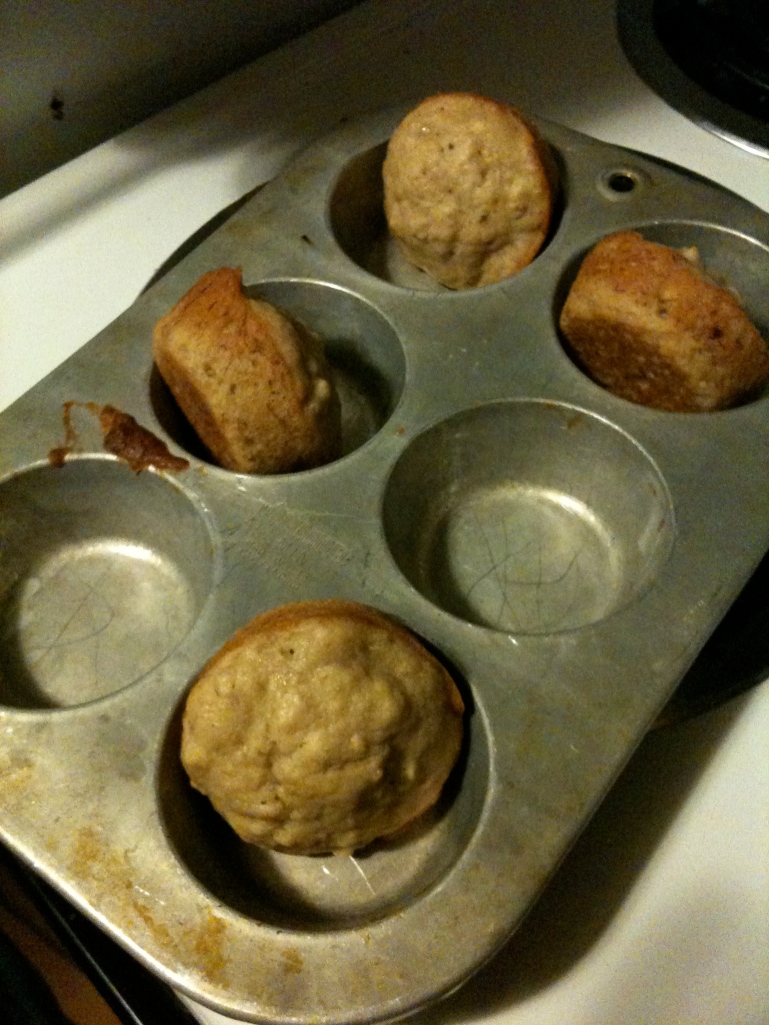

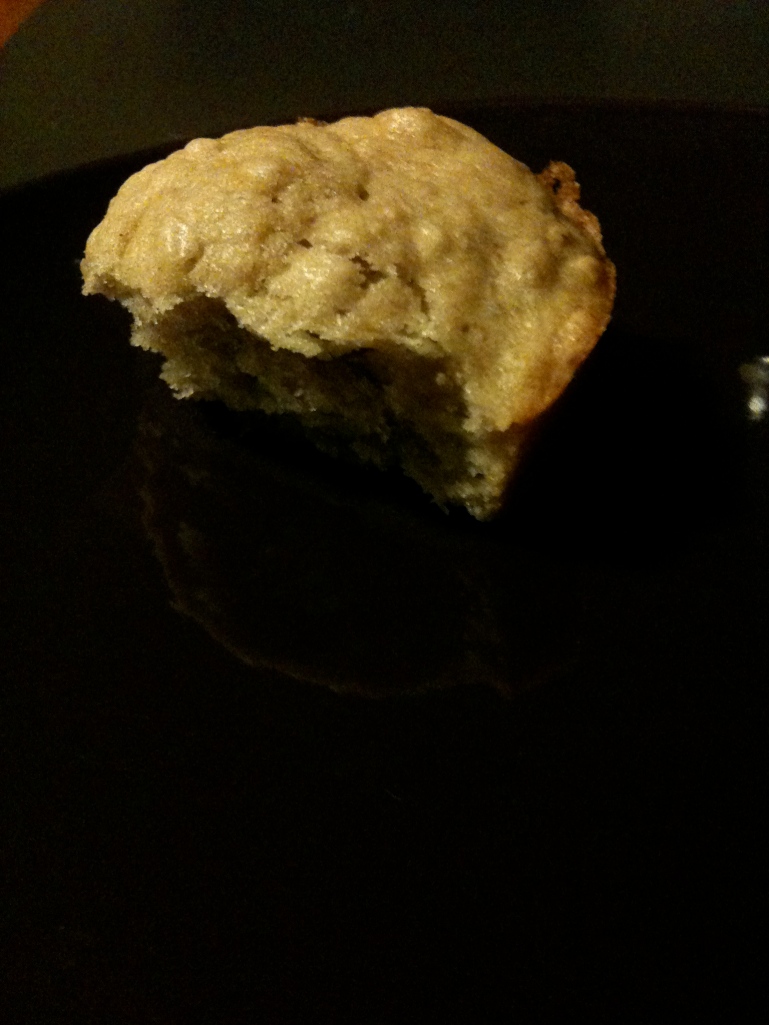
Cool on rack or whatever (see above for my very and professional cooling method) before removing. Enjoy. Share. Love.
October 22, 2011

Freshly Squeezed Orange Juice

There’s a juicer in my house. Technically, I guess there are two. There’s a machine that you plug into an outlet then use a plastic plunger type tool to push the to-be-juiced object into the whirring blades. It hasn’t been used since my roommate, its owner, moved it. I don’t know when it was last used. I took it out to examine it as a candidate. I immediately put it back in the box and returned it to its storage location. It, obviously, has been used. And when last used wasn’t properly cleaned. I’m not sure why I’m divulging all this unnecessary, kind of gross information to you except to say, I am juicer!!
Why didn’t anyone tell me how AWESOME freshly squeezed juice is??? It is far superior than bottled up, purchased straight from the store juice. Oh, I’m so excited about this orange juice. So the process is simply. Look:

I have a bowl. I have a strainer. I have the best juice now.

And it was hand squeezed. Fancy, right?

What’s even more exciting that glorious glasses is thinking of all the recipes I might use the juice and, of course, these guys for:

If anyone needs zest, at all, please let me know! I have about a pound of oranges here for the zesting.

Oh, boy. Stay tuned. I’ll keep you posted. Promise.

September 25, 2011

Pie Top Cookies

I made cookies. They looked like pie tops. What to call them? Well, the most obvious answer, of course. I like learning new techniques. I adore cute things. I can’t help it usually. I just get really excited when something is adorable, feel exuberant around the sorts of creatures or crafty or cookery things that make people talk in a slightly higher pitched voice or at a faster pace than typical.

It just so happened that I had two pie’s worth of dough in my freezer. Not in as much luck?? You can whip up a fresh batch. Here‘s a perfectly useful link in a time like this.

So that’s the actual recipe. This is a tutorial, a run-down if you will, of how to make the cookies themselves so as not to needlessly repeat myself on how to make awesome pie crust. The important step for this bit (if you’re making from frozen and not from fresh) is to defrost overnight in the refrigerator. I apologize, as this recipe does call for forethought. Unless you make from scratch! There are always loopholes to stumble through and around!

First step is to make sure your surfaces are well-floured. You can wear an apron if you don’t like flour handprints. I always seem to leave traces wherever I work.

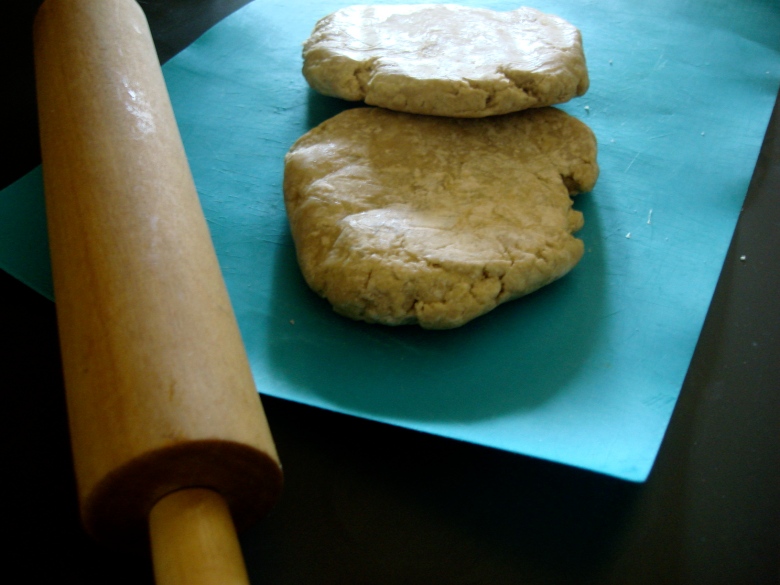
Flatten your pie crusts out, rolling evenly from the middle out in all directions.

Cut strips of the equal width. Leave intact. Begin lattice work work by folding every other strip of one pie crust down to the middle. See picture.

See? Easy. Now take the middle strip from the other pie crust and lay it across your opening. Fold up the ones folded down. Fold down the ones that were previously up and you’re ready to lay down your next longest strop of pie crust from that other one.

Once you have gone all the way to the top. Start from folding up from the bottom again starting from the middle then working down this time until you finish your latticing work.

Now you may get a biscuit or cookie cutter or whatever you might have on hand. I used a tiny mug.

I liked the shape, and with the help of a butter knife, it was perfect. Make sure you pull the dough away from the cookies and don’t try to move the cookies just yet.

Preheat your oven to 350 degrees F.

I found that I easily got four cookies at a time. I took the whole sheet of wax paper, carried it like a tray to the fridge and let the cookies hang out in there while I balled up the left over dough, stuck it in the freezer for a couple of minutes (in a plastic bag or plastic wrap) to rechill, so that I could make a new lattice and make four more cookies, pull the dough away, take the four new cookies on their wax paper tray to the fridge to chill, take the left over dough to the freezer for a couple of minutes, then lattice up my third and last batch of pie crust to get my final four cookies, put those in the fridge on their wax paper tray while I mixed up my sugary topping and egg wash.

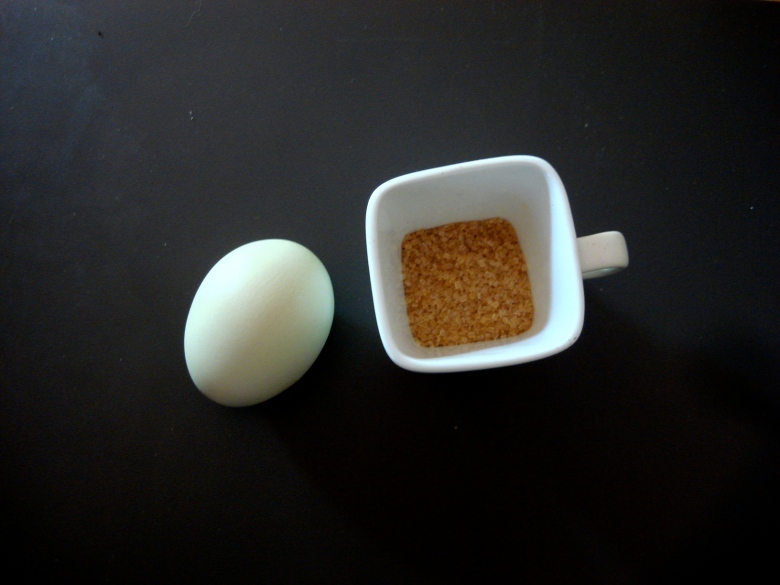
I simply mixed a tablespoon of raw sugar with a teaspoon of cinnamon in one bowl (or cute, tiny mug) and one egg with one tablespoon of water in another bowl.

First brush the tops of each cookie with the egg wash then top with a pinch or two of cinnamony sugary goodness. Bake six at a time for 15 minutes then turn on the broiler to high for a nice, golden brown top. While the first six bake, keep the others in the fridge.

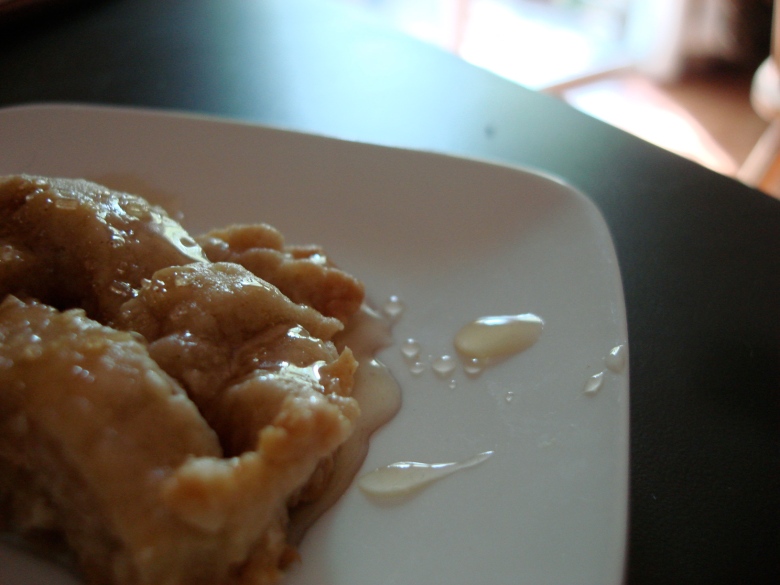
Top the cooled cookies with local honey for added sweetness. Although alone gives them a nice savory/sweet flavor that might be up or alley. I highly recommend playing with toppings or fillings. But alone is absolutely devine. My favorite topping was the honey though.

This recipe was inspired largely by not martha. Check her out. I’m just learning about her.

July 4, 2011

Happy. Go Forth.

This flag cake stands the test of tradition and time. I hope you enjoyed a fourth of July that stood up to such things as well.

May 17, 2011

Easter Cupcakes

If you give a nine-year-old, six-year-old, and four-year-old a lot of pretty sprinkles and a lot of very tasty frosting, after letting them help make the frosting and therefore taste the frosting (a lot of it), you might have a good time. I did. I love my nieces.

Easter Cupcakes

This part I made aforehand, so that we, as a group, didn’t have to wait around while the cupcakes baked. We started with the fun stuff. So, here’s the “aforehand” stuff for you.

Yields: 24 cupcakes

Inspired by: Smitten Kitchen

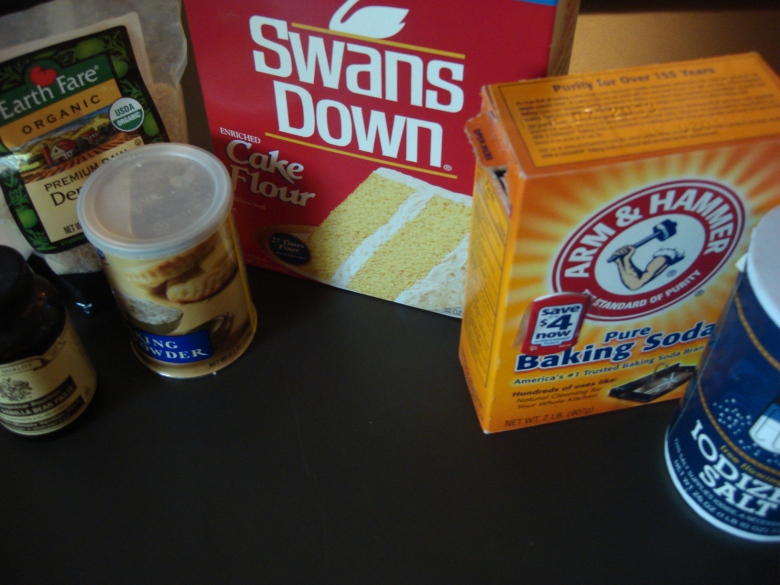
2 c + 2 T cake flour
2 c whole white wheat flour
2 t baking powder
1 1/2 t baking soda
1 t salt, small grained
2 sticks unsalted butter, at room temperature
2 c sugar (I used demerara sugar and pulsed it in a spice grinder until finely grained.)
2 t vanilla bean paste (or vanilla extract)
4 eggs, large, at room temperature
2 c buttermilk (which I didn’t have, so I used milk + lemon juice. Because I used too much lemon juice, these cupcakes tasted a little bit like lemon, but not in a bad way.)

Preheat oven to 35o degrees F.

Sift flour, baking powder, baking soda, and salt together.

In a separate bowl, beat butter and sugar together until light and fluffy, then add vanilla.

Add eggs one at a time. Beat until incorporated.

Add buttermilk or milk mixture. Mix. Incorporate.

Then, add the flour mixture.

There it is. The flour mixture. Now, add it in three batches to the batter. Mixing after each addition. Pour the batter into the prepared cupcake cups.

Bake for about 30 minutes or until cake tester comes out clean. Cool in pan for 10 minutes. Then, transfer to a cooling rack.

Use your favorite frosting recipe. Go to town. Have at it.

Why, yes, I did put plastic wrap on the counter to ease in clean-up. What’s that? Applause? Applause for brilliance? Oh, thanks. Thanks.

We washed our hands a bunch of times.

A lot of sprinkles were used in the making of these Easter Cupcakes.

Tada.

April 26, 2011

Double Chocolate Chip Cookies

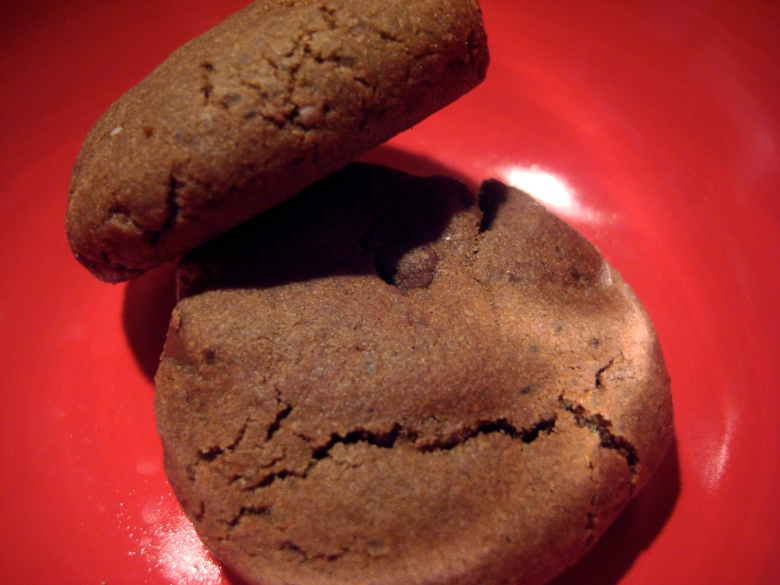
The cookies are textured, tasty, and, most importantly, chocolatey.

I needed cookies. I needed chocolate. This is more than a solution. This is the beginning of a problem. A delicious, wonderful problem in which I eat too many cookies then need to sit down and think about what I’ve done.

Double Chocolate Chip Cookies

1/2 c butter, softened
1/2 c Demerara sugar
1/2 c light brown sugar
1 large egg
1 t vanilla bean paste (or extract. I actually found out I had no vanilla extract when trying to create these cookies, but the vanilla bean paste was awesome.)
1 1/2 c AP flour
1/4 c unsweetened cocoa powder
1/2 t baking soda
1/2 t baking powder
1/2 t kosher salt
1 c semi-sweet chocolate chips (or 1/2 c milk chocolate and 1/2 c semi-sweet or 1 c milk chocolate)

Heat oven to 325 degrees F. In a large bowl, cream butter and sugars together with an electric mixer on high speed until fluffy.

Add the egg and vanilla. Mix.

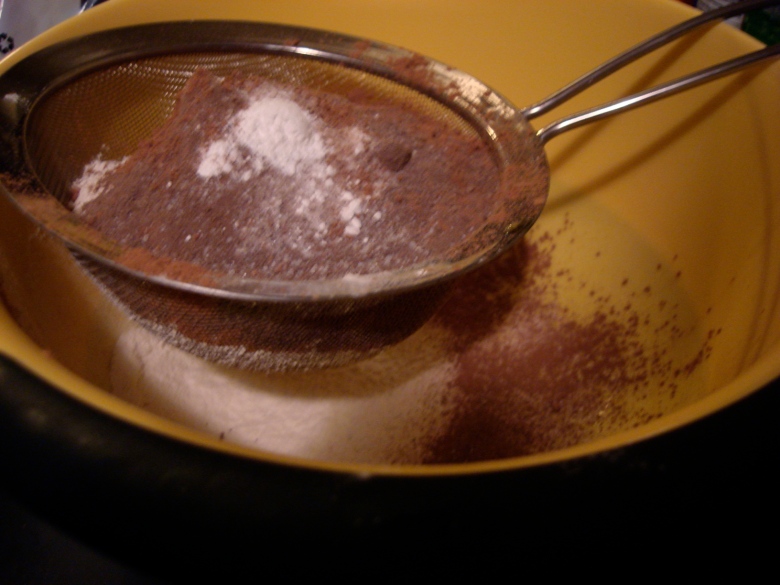
In a medium bowl, sift flour, cocoa, baking soda, baking powder, and salt together.

With the mixer on low, add flour mixture to butter mixture incrementally. Mix until fully incorporated. Fold in the chocolate chips.

Form 1 1/2 inch balls of dough. Place on lined baking sheet about 2 inches apart.

Bake until the tops crack, about 12 minutes. Allow to cool on the sheets for five minutes then remove to cooling racks.

Store in airtight container at room temperature for up to three days. After that the cookies get sad and hard, and you’ll miss out on the good thing you had.

April 19, 2011

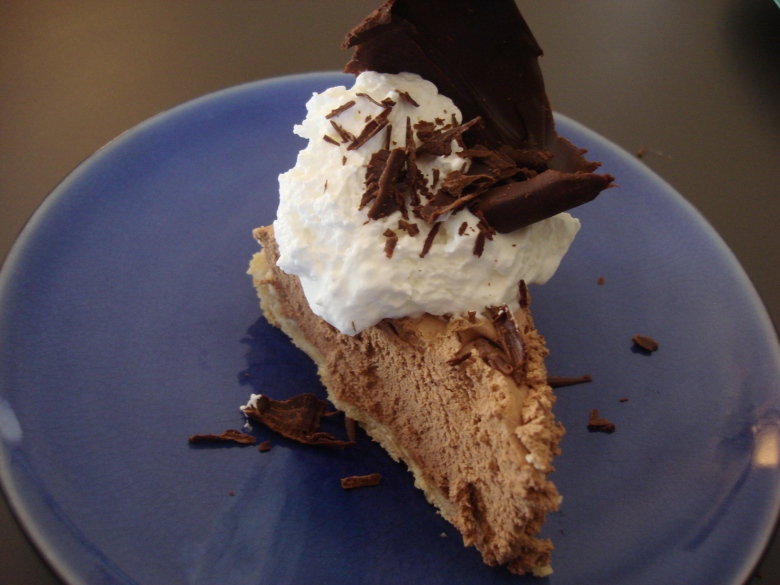
French Silk Pie

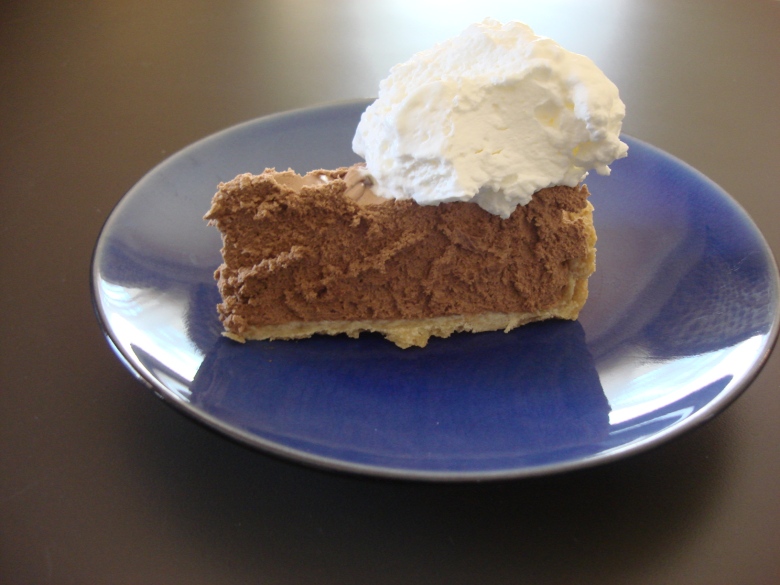
I made this on Pi Day. Do you know about this holiday? 3.14. Pi. Get it? I hope your March 14th was delightful. And Pie-full. If not, there is always next year.

Some forewarning: 1) This pie is delicious. I mean it. So good. Oh, my lordy. Amazing. You’ll love it. You’ll wonder when you’ll have another excuse to make it. You’ll figure it out. I promise. Because tomorrow seems like a pretty good excuse to me. 2) This recipe requires a lot of beating. A lot. Your electric mixer will be tired.

But, oh, the good. The good that will come!!

French Silk Pie
Inspired by The Pioneer Woman

4 oz unsweetened baking chocolate
1 c butter, softened
1 pinch salt
1 1/2 c sugar
2 t vanilla extract
4 eggs
1 Pie Crust

Melt the chocolate in a double boiler or in a microwave-safe dish. Set aside to use.

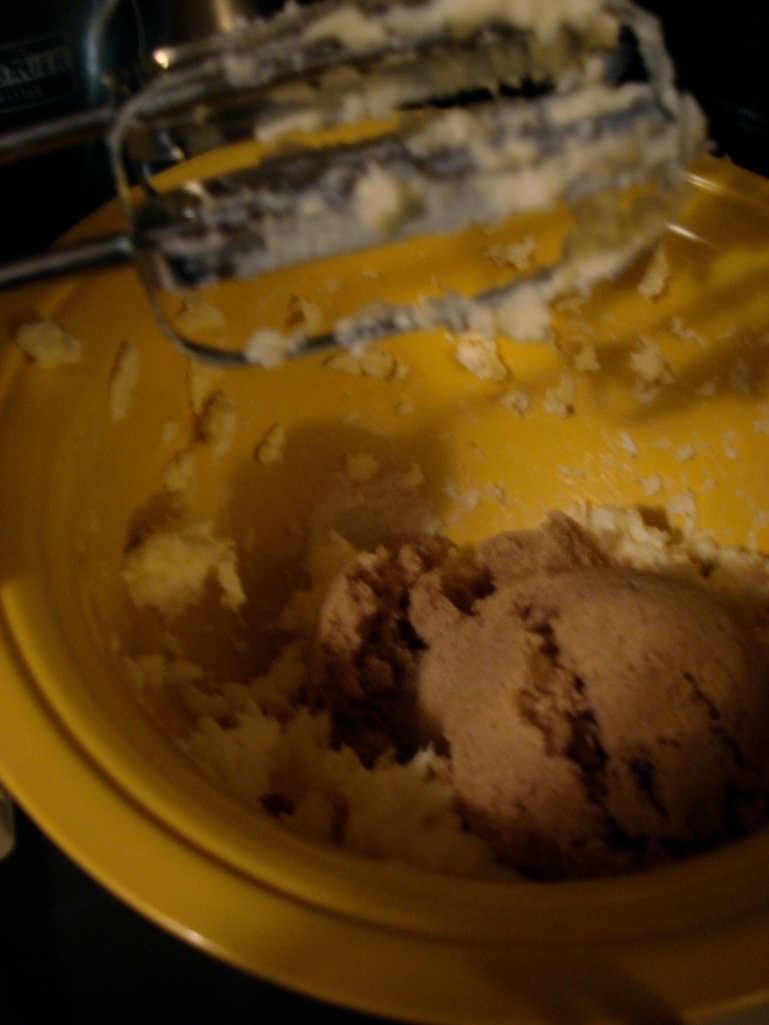
Now begins the beating process. Beat together butter and sugar until fluffy. This will take a few minutes.

 Pour in cooled chocolate, and add the vanilla. This is the second stint of mixing. Mix until incorporated.

Add each egg one at a time. After each addition, beat five minutes.

Keep going.

Pour well-mixed filling into baked pie shell. Smooth top.

Refrigerate for at least two hours. Truth be told, over night is even better.

To make the whipped cream topping:

Take whipping cream and powdered sugar. Mix on high for a couple of minutes. Add a touch of vanilla. Mix until stiff peaks form. Refrigerate until you’re ready to top each slice.

Add chocolate curls.

Take a bite.

Take another. And pretty soon,

April 19, 2011

Indefectible Pie Crust

Now, confessions. This is only the second time in my whole life. First? Second. Hm, I’m not sure. I think it’s the very first time I’ve ever made pie crust from scratch. Success!!!

Pie Crust
Yields 3 pie crusts

3/4 c vegetable shortening
3/4 c butter, cold
3 c AP flour
1 egg
5 T cold water
1 T white vinegar
1 t salt

Use two knives or a pastry cutter to work the flour into the shortening and butter. It’ll look coarse and mealy and a little bit like pellets. At that point, form into one mega ball of dough.

Beat the egg in a separate bowl before adding it to the flour mixture. Add the water, a tablespoon at a time, then the white vinegar, then the salt. Stir until incorporated.

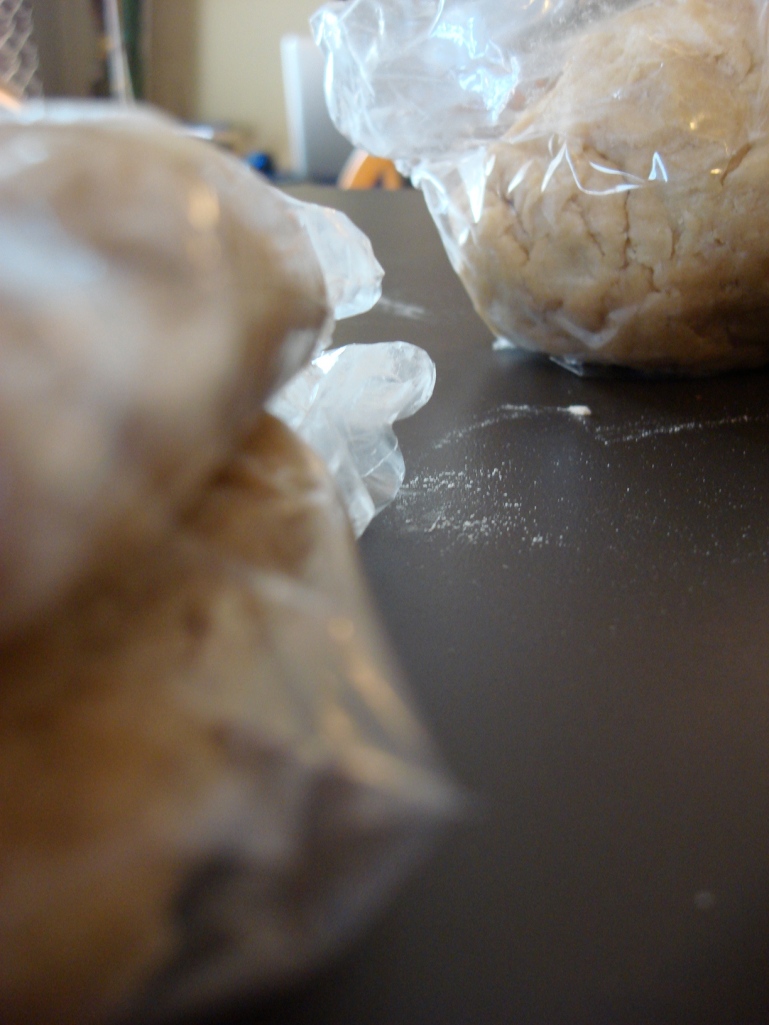
Divide into three separate balls. Place into individual zip-top bags. Slightly flatten each ball, seal the bags, then place in the freezer. If you plan on using any of these immediately, get the necessary crust(s) out after 20 minutes.

March 3, 2011

Simply Chocolate Cake

This cake is great and simple. Chocolatey but not overly sweet. Delicious and not long lasting at all. It gets gone. Quickly.

Simple Chocolate Cake
Inspired by Smitten Kitchen

1/2 c unsalted butter, room temperature
1 c firmly packed light brown sugar
1/2 c granulated sugar
1 large egg, room temperature
1 c buttermilk (or regular milk plus lemon juice or vinegar equalling 1 c. Do you know this trick? It’s great.)
2 t vanilla extract
1 1/2 c A-P flour
1/2 c cocoa powder
1/4 c Ovaltine (because I ran out of cocoa powder. If you have enough cocoa powder, use 3/4 c and no Ovaltine, unless you want to found out how it ended up. [Pretty darn good.])
1/4 t baking soda
1/2 t baking powder
1/4 t salt
1 c chocolate chips (semi-sweet, milk, or a combination)

Preheat oven to 325 degree F. Butter and lightly flour 9 x 9 pan.

Cream the butter until smooth with an electric mixer on medium.

Add the sugars and continue to beat until fluffy, about three minutes. Add the egg. Mix to incorporate. Then, add the buttermilk and vanilla. The batter will look a little… off. Too runny. Too clumpy. That’ll be correctly shortly. Leave it be for now.

Sift the dry ingredients (flour, cocoa, Ovaltine (if using), baking soda, baking powder, and salt). If you want this to be a one bowl dish, just sift the dry right into the wet ingredients! So great. Don’t overmix; just stir until combined, scraping down the sides. Fold in chocolate chips.

Pour batter into a loaf pan or a 9 x 9 pan. You know; that one you buttered earlier. Bake for 65 minutes, or until a tester comes out clean. Cool in the pan for 10 minutes, then plop out and let it completely cool.

Enjoy it while you can. Like I said, this cake magically disappears.


February 17, 2011

Pear Bread

Pear bread. Pear cake. It’s in the shape of a bundt cake, but if the food doesn’t have a coffee in front of it, I don’t think we’re allowed to eat it for breakfast. Hence, bread. Also, it’s very, very similar to banana bread.

I have a feeling I should keep playing around with this recipe a bit. But it was fun making it the first time. So, allow me to tell you about it.

Pear Bread
inspired by Smitten Kitchen

3 c A-P flour
1 t baking soda
1/4 t baking powder
1 t salt
1 T ground cinnamon
3/4 c butter, softened
3 eggs
2 c sugar
3 pears, firm
2 t vanilla bean paste

Preheat oven to 350 degrees F. Whisk together dry ingredients (flour, baking soda, baking powder, salt, and cinnamon).

Cream the sugar and butter together until light and fluffy.

Peel and grate the pears.

Add eggs, grated pears, and vanilla to the creamed butter and sugar. Once completely combined together, mix into the flour mixture.

Butter the bundt pan.

And pour batter in evenly.

Bake for 60 to 70 minutes, or until tester comes out clean.

Cool bread in the pan on a wire rack for 10 minutes. The cool it completely on a plate. Sprinkle with confectioners sugar.

Slice. Enjoy.

Advisory:: Be aware. Cutting yourself a slice of this bread even after a week, topping it with a tablespoon of honey, heating it up in the microwave for 22 seconds, then topping that with French Vanilla organic yogurt is INCREDIBLE!!! It’ll make you sing, make you feel giddy, and make you want at least one more slice.